
Monday, September 27, 2010
BBA Challenge - Pain de Campagne
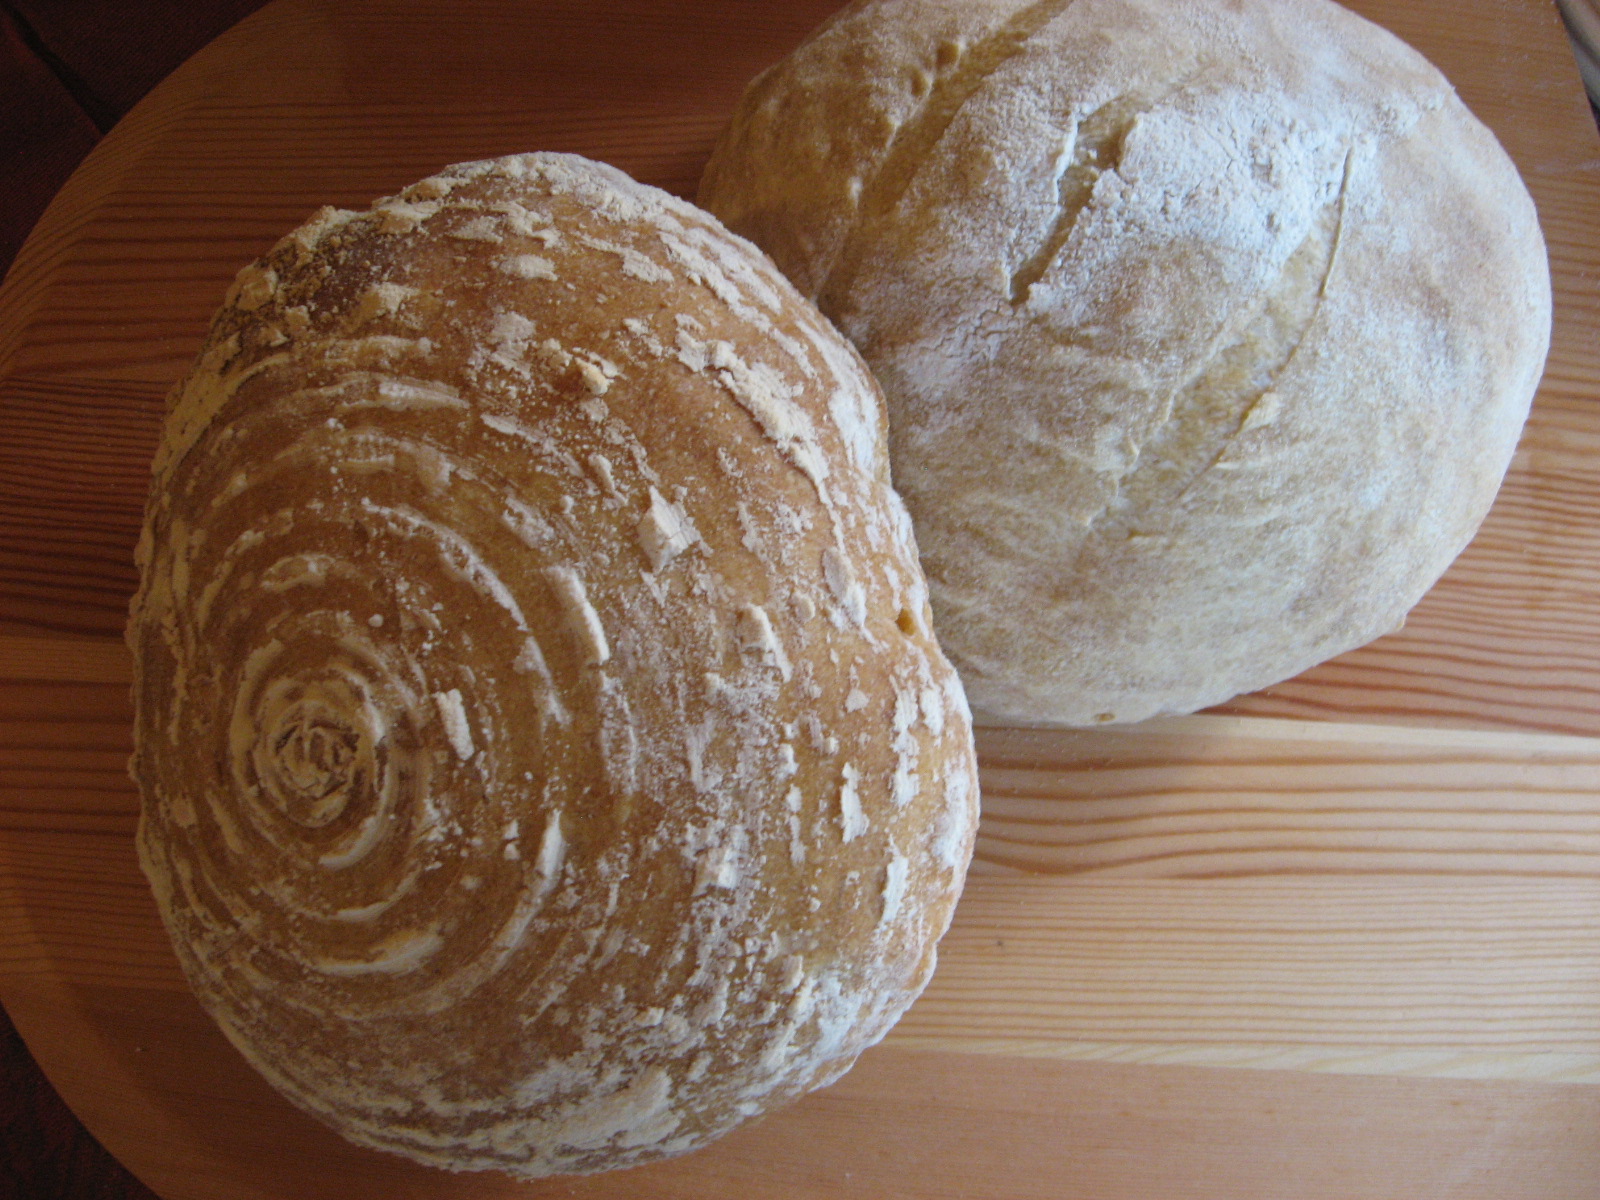
This BBA Challenge bread is good for making into different shapes and the book shows a variety of possibilities. I have one banneton (another one has been ordered!) which is a round coiled basket used to proof a loaf into a nice round shape. I wanted to try it out so I used it for one loaf. I used a mixing bowl lined with a floured towel for a second round loaf and I decided to turn the third loaf into an "epi" shape. The epi is first made into a long loaf. Then you make cuts into it and twist portions of dough out toward one side and then the other to form a long bread with rolls coming out all along it. I didn't get a picture of it because it was eaten up too fast. It was too busy a weekend for good pictures, but I did manage to snap a quick picture of the two round loaves. The one with the rings was proofed in a banneton:
 I floured the banneton and the toweled bowl rather heavily as you can see here for fear of sticking. I had no problem with that. What did give me trouble was trying to score the dough before baking to make those nice marks on the top. I have a special little scoring blade but as soon as I started trying to make the cuts the dough began collapsing. You can see the loaves are a little misshapen. I also didn't get a brown color--especially on the loaf in the back, but it was definitely done and delicious. The loaves were rather small and look just perfect for soups "in a bread bowl." As soon as I get my second banneton, I'd like to make this bread again and get the hang of that scoring. Then I'll make my soup or chili to serve in it.
Thursday, September 16, 2010
Plum Pierogi
Italian prune plums always remind me of my mother's plum pierogi. I loved them and am craving that taste again.


I made the pierogi dough the same as in the earlier post. I only made a half recipe since I didn't plan to make too many pierogi. I cut the circles out with a cutter that was a little over 3" across. I washed 16 plums, cut them open on one side only, removed the pit and replaced it with a sugar cube. I then wrapped a round of dough around each plum and sealed it according to the directions in my pierogi post. If you find the dough is a little dry and wants to tear, wet your fingers with water and smooth the whole surface of the round with the water while stretching it gently before putting the plum into it. Also, wet the inside edge before you seal it to make a tighter seal. Follow directions to cook the pierogi, about half of them at a time. At home, we just ate them as they came out of the water, but I thought my husband might prefer some sort of topping. The usual topping would be bread crumbs browned in butter with some cinnamon and sugar added. I decided to try these with plum sauce instead since I had so many plums.
Plum Sauce
1-1/2 lbs. prune plums, pitted and chopped
1/4 cup sugar
A little water--2 or 3 tablespoons
1 teaspoon cinnamon
1 teaspoon butter
Simmer the first 4 ingredients until the plums become soft and the water cooks out a little. Add the butter and simmer a couple more minutes to make a thickened sauce.
Serve the pierogi with the plum sauce. Sprinkle with a little more cinnamon.

I like these warmed up a day later with some sauce--the flavors are better blended by then. This is one of my nostalgia--from home--treats that I really make just for myself.
Monday, September 13, 2010
BBA Challenge - Pain a l'Ancienne
We took a summer break from bread baking but fall's coming and we're starting back into our BBA Challenge. Our next bread to make was Pain a l'Ancienne. This bread is shown as baguettes, but we decided to shape it into focaccia. Except for a small mistake I made of reaching for the spray water instead of spray oil to spray the parchment paper with before easing the soft, sticky dough onto it (which meant I had the mess of spraying a new sheet with oil and removing wet sticky dough from the first paper and transferring it!)--other than that--I had absolutely no trouble with this bread.


Focaccia can be topped with oil and any combination of herbs, sun-dried tomatoes, olives, etc., before baking. I chose to simply drizzle it lightly with olive oil and sprinkle with sea salt. I didn't add any herbs since I wanted the option to add whatever flavor I want when I eat it. I love it simply dipped in olive oil with salt or in rosemary oil. Another time I might want to add basil or other herbs to the oil. I also loved it with my homemade butter spread on it. (See previous post.) This would make a great panini or a simple sandwich. My problem is I want to eat the whole loaf right now--I'm well on my way. I had to hide half of it in the freezer to keep it away from me.
Sunday, September 12, 2010
Making Cultured Butter
It had been many years since I made butter. When I was little we had a cow and making butter was just a chore. We had a glass churn with a dasher that we used. When the glass broke, we just put cream in a quart jar and took turns shaking it until it became butter. When I came across this challenge at the site of forging fromage I started looking for cream that was not ultra pasteurized. I found some at my farmer's market. (Although girlichef informed me she was able to make it from ultrapasteurized cream.)


The instructions say to add some plain whole-milk yogurt to heavy cream and allow it to sit a day.

The second day you just use a mixer, whip and "presto" butter forms! The butter has now separated from the "buttermilk." The buttermilk is poured off. The butter is rinsed several times in ice water. With each rinse you work the butter with your hands or a paddle under the ice water to try to get out all the buttermilk.

Then you can add salt and any herbs or flavorings you want.

The only thing I added to my butter was salt, and I poured the buttermilk into the jar the cream came in.
I'll use the buttermilk for pancakes or some other recipe and we're totally enjoying the butter already. I just added salt to it. This was fun to do, although a bit expensive for two pints of the wonderful cream.
See the site for more details if you want to try this yourself.
Tuesday, September 7, 2010
Plum Cake with cardamom
This cake is good made with plums that have some sweetness to them--no ice cream needed:


1-1/2 cups all-purpose flour
1 teaspoon baking powder
1/2 teaspoon cardamom
1/4 teaspoon salt
1 cup butter, room temperature
1 cup sugar
1 teaspoon vanilla
3 egg yolks (or 2 large eggs)
6 plums
1 Tablespoon sugar
1/2 teaspoon cinnamon
Line a 9-1/2" springform pan with wax paper. Preheat oven to 350 deg. F.
Mix flour with baking powder, salt and cardamom. Set aside.
Whip softened butter and 1 cup sugar in mixer until light and fluffy. Mix in the vanilla. Add eggs, one at a time, beating well after each one. Add the dry ingredients and mix.
Spread batter into pan. Slice the plums into eight pieces and layer into the cake batter. Mix the tablespoon sugar with cinnamon and sprinkle over plums.
Bake about one hour until cake is golden and cake tester or toothpick comes out clean.
Friday, September 3, 2010
Baking "The Baker's Dozen Cookbook"
A new challenge I've decided to undertake is learning to bake good basic cakes. After taking the summer off from bread-baking, I'm missing my breads and ready to begin that challenge again--BBA. In addition I'm going to bake my way through this book:


This book was put together by a group of well-known bakers who have chosen their favorite recipe for a variety of cakes, pies, breads and other desserts. The book is filled with the basic information that explains the techniques that will give the best results and the reason they work. There aren't a lot of pictures, but there is a great deal of information. I'm planning to bake something from the book every other week until I've gone through the whole book. My first choice was the first cake in the book, "Our Favorite Butter Cake." I got all my best ingredients set up--everything at room temperature because that makes the batter "blend smoothly."

YES, that's my old sifter! I haven't used it in ages but I'm told it's important, not only to mix the dry ingredients well, but to aerate them. So I sifted:

The butter had to be beaten until light in color and then the sugar added in a steady stream following by mixing 4 to 7 minutes more. The book explains the importance of this step in creating millions of tiny air bubbles to create a light cake.

The eggs are also added a little at a time to prevent curdling of the mixture. (Although if the batter curdles, the book gives a solution.) The rest of the recipe explains the reason for adding the dry ingredients alternately with the wet ingredients. I find it much easier to follow instructions if I understand the reasons for them. After following every little instruction, I pulled a perfectly-risen level-to-the-top-of-the-cakepan yellow butter cake out of the oven.

Now remember that chocolate you saw in the ingredients picture? That was for the icing. I had no particular plan in mind for the icing so I made one of the chocolate icings. For the first time ever I didn't have any confectioner's sugar in the pantry, so I chose the rich Chocolate Buttercream Frosting. It took a LOT of rich semisweet chocolate:

The recipe was extremely complicated, involving melting chocolate in a double boiler, simmering sugar and cream of tartar in water to the soft ball stage, beating egg yolks over simmering water and whipping everything together with softened butter. This icing was too rich and chocolatey for my light tender cake. I felt it overwhelmed it and was far more chocolate richness than I wanted on a piece of cake. I can see it on a rich, heavy chocolate cake of which one would eat a small slice, but I would try the lighter chocolate icing recipe next time for a light cake.

I love this cookbook--it reads like a class in baking. I think, in time, you could create your own recipes after mastering the basics in here.
Subscribe to:
Posts (Atom)